Pro Tips (and a Tutorial!) For The Perfect False Lash Look

It should come as no surprise that as someone who spends a fair amount of time on camera or out in the public eye, I've come to rely on false lashes to give my eyes a dramatic boost.
Whether you've got a big event or party coming up or just think your lashes deserve a bit more attention—a good set of falsies (applied well) can make all the difference.
Below I've outlined all my best faux lash tips and included a helpful tutorial so you can see how easy it is to get a gorgeous, dramatic eye look at home!
1. LET YOUR OWN LASHES BE YOUR GUIDE.
Not all false eyelashes are created equal, so half the battle is finding a pair that's right for you. If you have shorter lashes, resist the urge to compensate with an ultra-long style. If your lashes are longer and more sparse, don't try to fill them in with shorter thicker styles. And if you have lighter coloring, opt for a brown pair of lashes instead of harsh black, and vice versa. Aim to enhance your own lashes with a style that mimics what your mama gave you.
2. TAKE THE EDGE OFF.
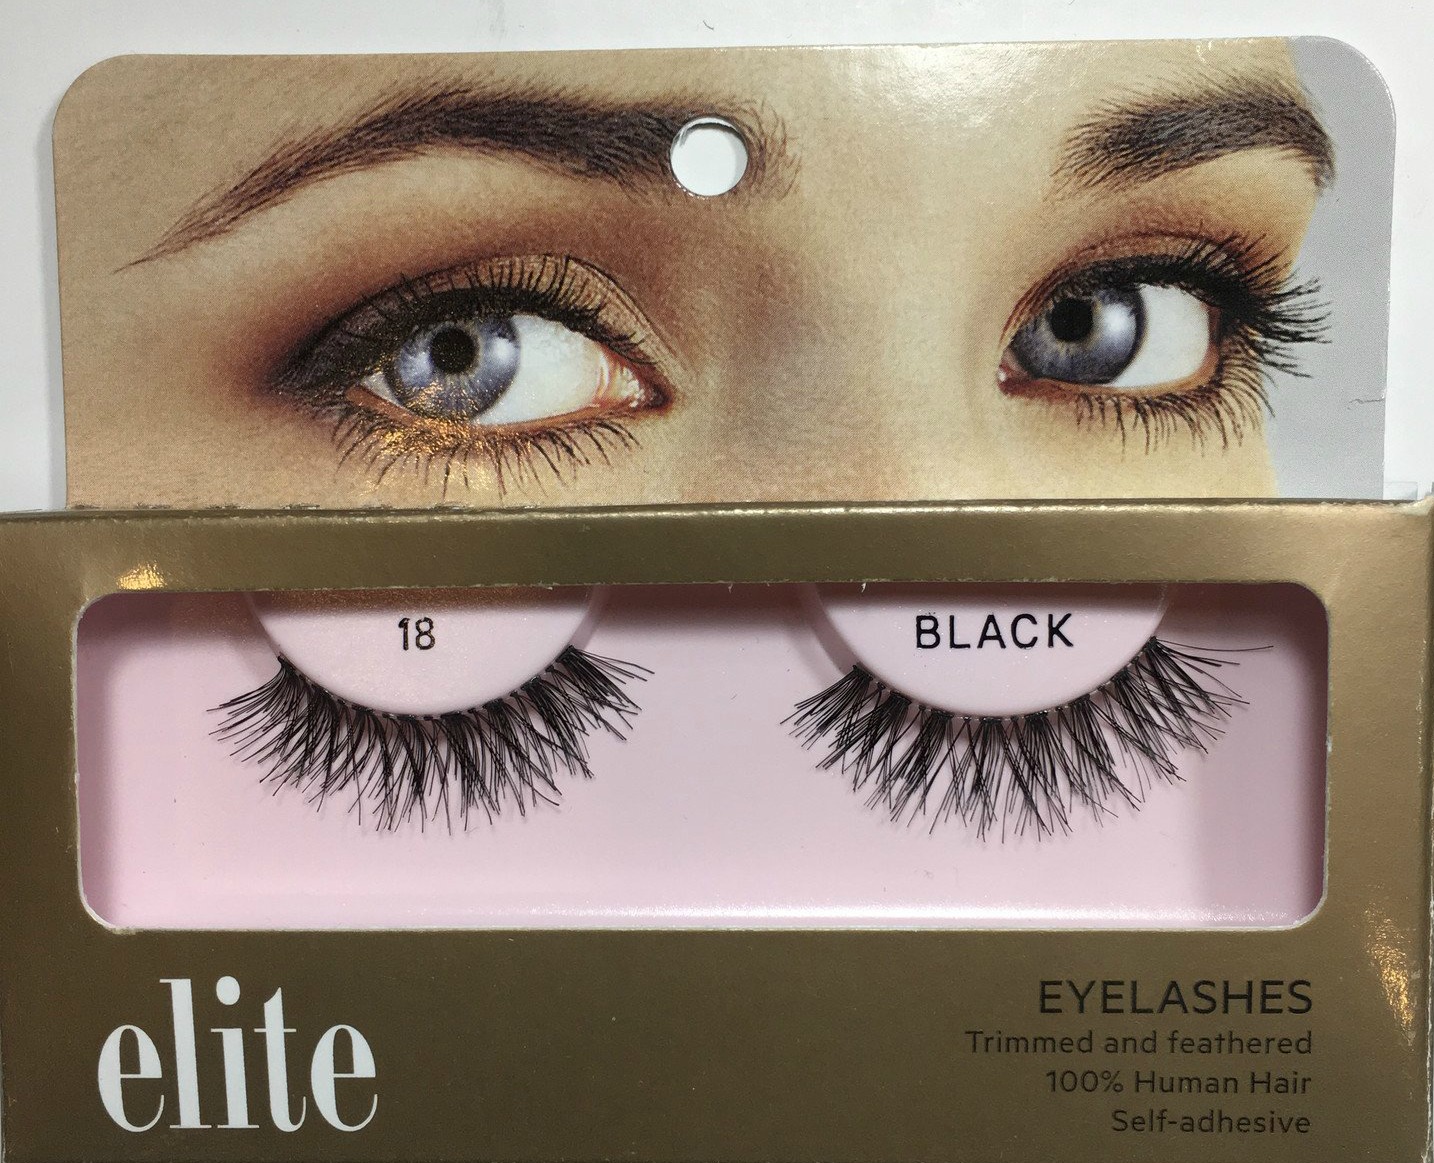
Our own lash cycle results in mixed lengths, so avoid styles with an even blunt edge—where all of the lashes are the exact same length. Those styles are great for a fashion forward or retro look, but not ideal for everyday. Elite's #18 are a personal favorite of mine ($2.99, Duane Reade stores), while Ardell Natural Lashes #110 are another national best seller. ($4.99, sallybeauty.com).

3. BE CLEAR.
Most strips of false eyelashes are set on a black band, which can look like a thin line of eyeliner when applied, but are also more prone to showing imperfections and errors in alignment. Those made with a clear band are ideal for beginners to apply, as they make it easier to camouflage mistakes and flaws in application. The invisible effect of fuller lashes without the black line is perfect for daytime casual, or a striking bold lip that looks more modern with clean eyes.
4. GET THE RIGHT GLUE.
It's important to know if you're sensitive to latex or not, as many adhesives contain the ingredient. For those who are sensitive, opt for latex-free formulas such as Duo's new Brush-On Adhesive and Go Girl! Hypoallergenic Glue. For those without allergies, Duo's Dark Tone Adhesive is popular choice. It dries dark, holds great, and blends better than most clear glues ($5.99-$6.49, ulta.com).
5. FIND FISHTAIL TWEEZERS.
Another way to ensure a successful eyelash experience is to use what pros call fishtail tweezers (sometimes called eyelash applicators). These small clamp-style tools can be used to gently nudge your faux pair into place and help everything gel together. Basic metal pairs are inexpensive ($1.85, amazon.com), but a few more dollars will buy a better version with soft rubber trimmed tips ($12, Sephora.com).